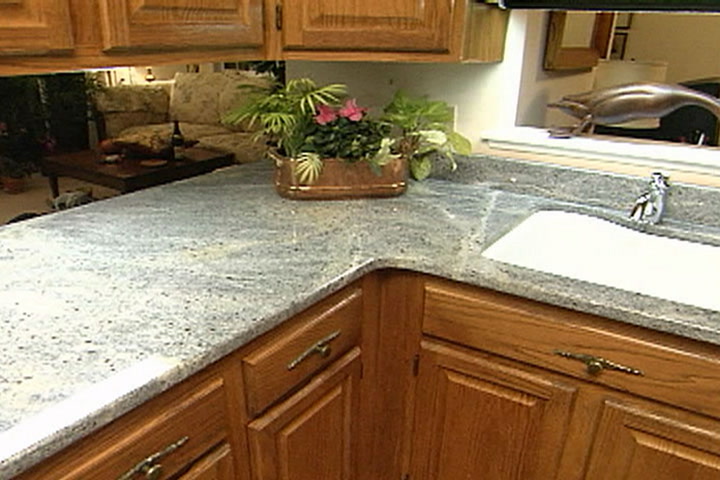
The installation of granite countertops is a meticulous process that involves several well-coordinated steps to ensure a seamless and durable result. Before the installation begins, accurate measurements of the countertop area are crucial. These measurements guide the cutting of the granite slabs, which is typically done off-site to match the specific dimensions of the kitchen or bathroom. Precision in this stage is paramount to ensure a snug fit and a professional finish.
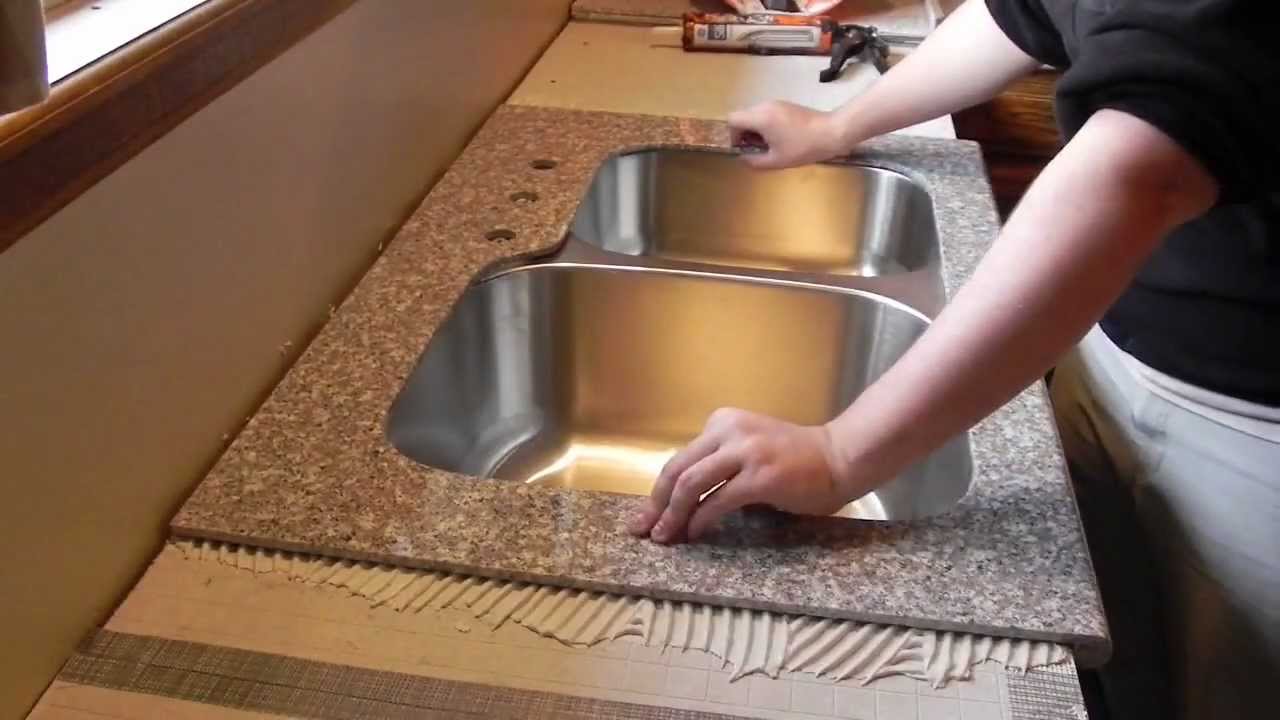
Once the granite slabs are ready, the installation process begins with thorough preparation. The existing countertops must be removed, and the cabinets checked for stability and levelness. The next step involves creating a solid and level base for the granite. This is often done using plywood or another sturdy material, providing a stable foundation for the heavy granite slabs. The base also includes the application of a moisture barrier to prevent any water damage to the cabinets over time.
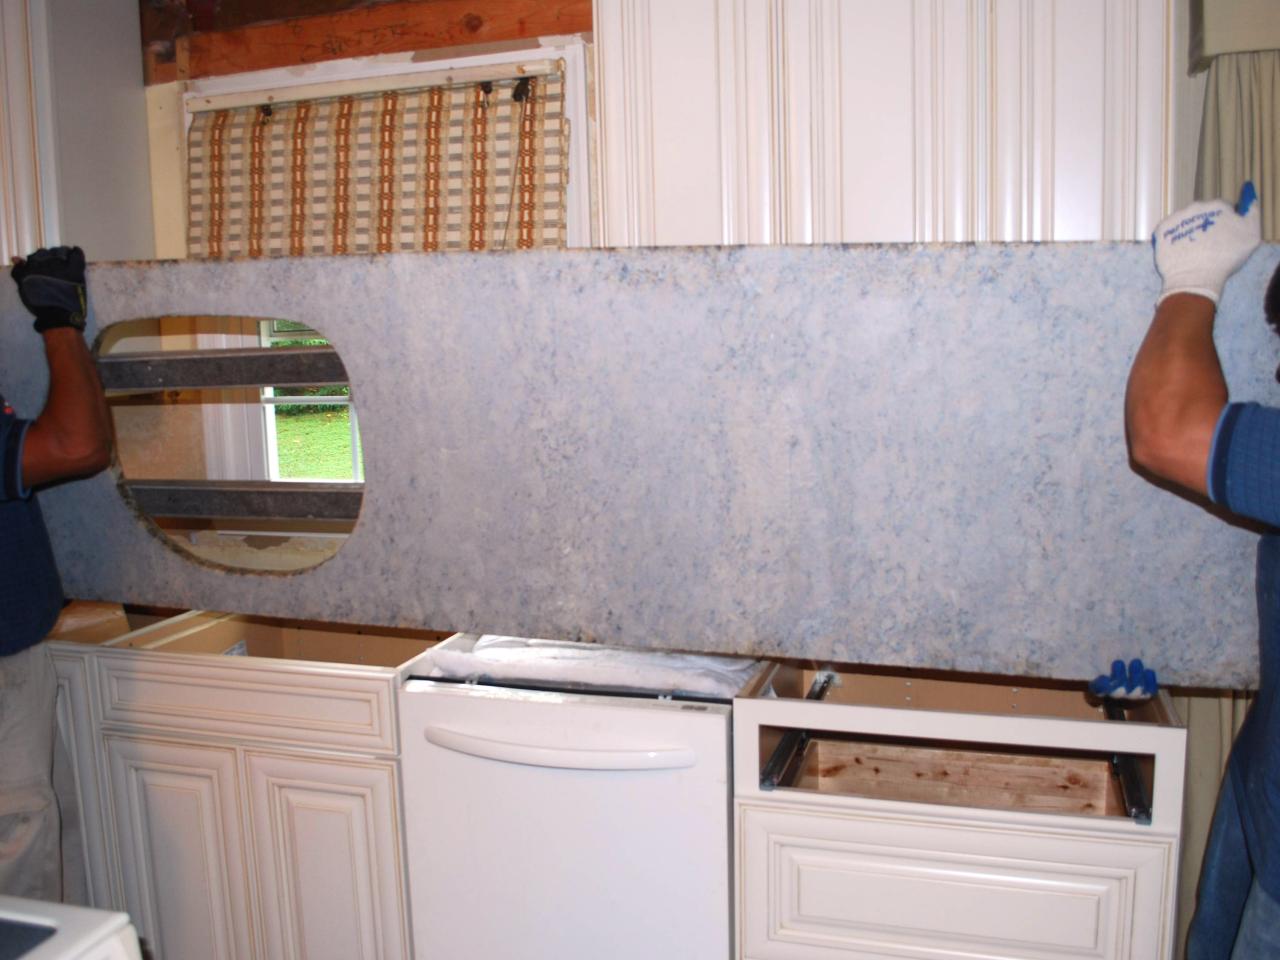
After the base is set, the granite slabs are carefully transported to the installation site. Handling granite requires expertise due to its weight and fragility, and professionals take precautions to avoid any damage during transportation. The slabs are positioned on the base, and seams are carefully aligned to create a cohesive appearance. The seams are then joined using epoxy or another adhesive, and any excess material is meticulously removed to ensure a smooth surface.
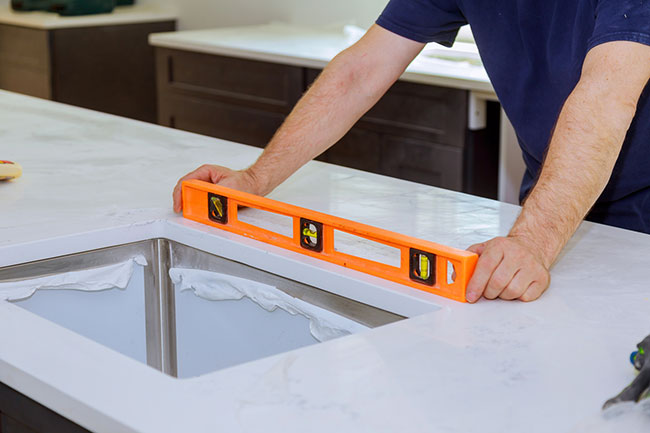
The next critical step is leveling and securing the granite. Leveling is essential to prevent any rocking or instability, and shims may be used to achieve a precise level. Once leveled, the granite is secured to the base using a combination of adhesives and mechanical fasteners. This step is crucial for ensuring the long-term stability and durability of the countertop.
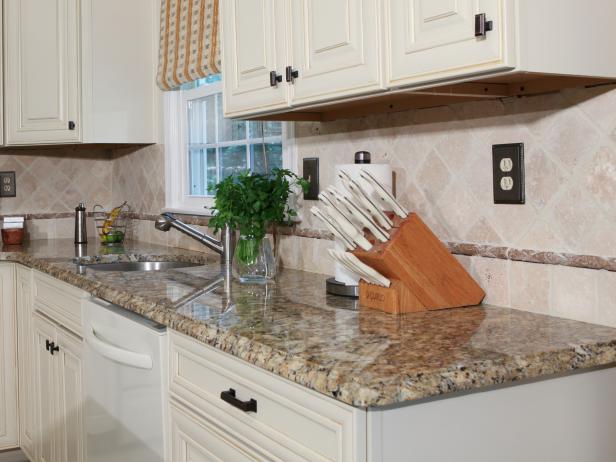
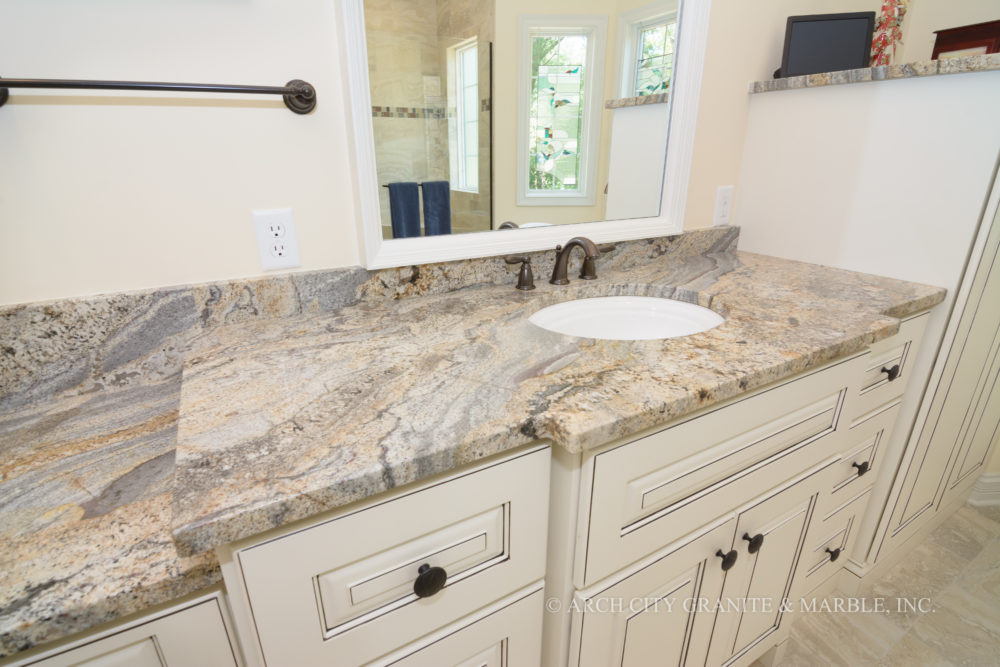
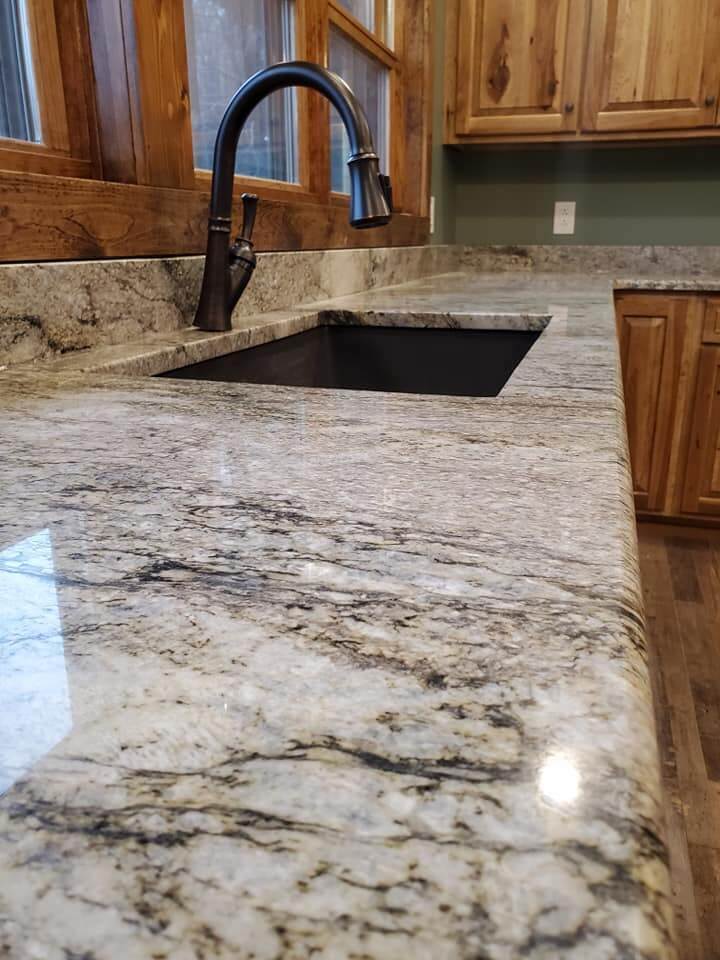
After securing the granite, attention turns to finishing touches. The edges of the granite can be customized to suit the homeowner’s preferences, with options ranging from beveled and bullnose edges to more intricate designs. The edges are carefully shaped and polished to create a seamless and aesthetically pleasing transition. The final polishing of the entire surface enhances the natural beauty of the granite, bringing out its unique patterns and colors.
Grouting is another essential step in the installation process. This involves filling the seams between the granite slabs with a color-matched epoxy or resin. Proper grouting not only enhances the appearance of the countertop but also contributes to its structural integrity by preventing water infiltration.
Sealing is the final step in the installation process. Granite is a porous material, and sealing helps protect it from stains and moisture. High-quality sealers are applied to the entire surface, creating a protective barrier without altering the natural beauty of the stone. Homeowners are often advised to reseal their granite countertops periodically to maintain their resistance to stains and ensure long-term durability.
The installation of granite countertops is a detailed and skill-intensive process that involves precise measurements, meticulous preparation, careful transportation and handling of the stone, and expert installation techniques. From creating a solid base to leveling, securing, and finishing the granite, each step contributes to the overall quality and appearance of the final countertop. The result is not just a functional surface but a stunning and durable centerpiece for the kitchen or bathroom, showcasing the timeless beauty of natural stone.
How are Granite Countertops Installed: Arch City Granite u0026 Marble
How a Granite Countertop is Measured, Cut and Installed
What to Expect With Your Granite Countertop Installation Granite
Why Professional Granite Countertop Installation – BC Stone
Related articles:
- Vintage Granite Countertops
- Country Granite Countertops
- Antique Granite Countertops
- Farmhouse Granite Countertops
- White Granite Countertops Ideas
- Granite Countertops Cost
- Chipped Granite Countertop Repair
- White Granite Countertops
- Granite Countertop Overlay
- Stains On Granite Countertops