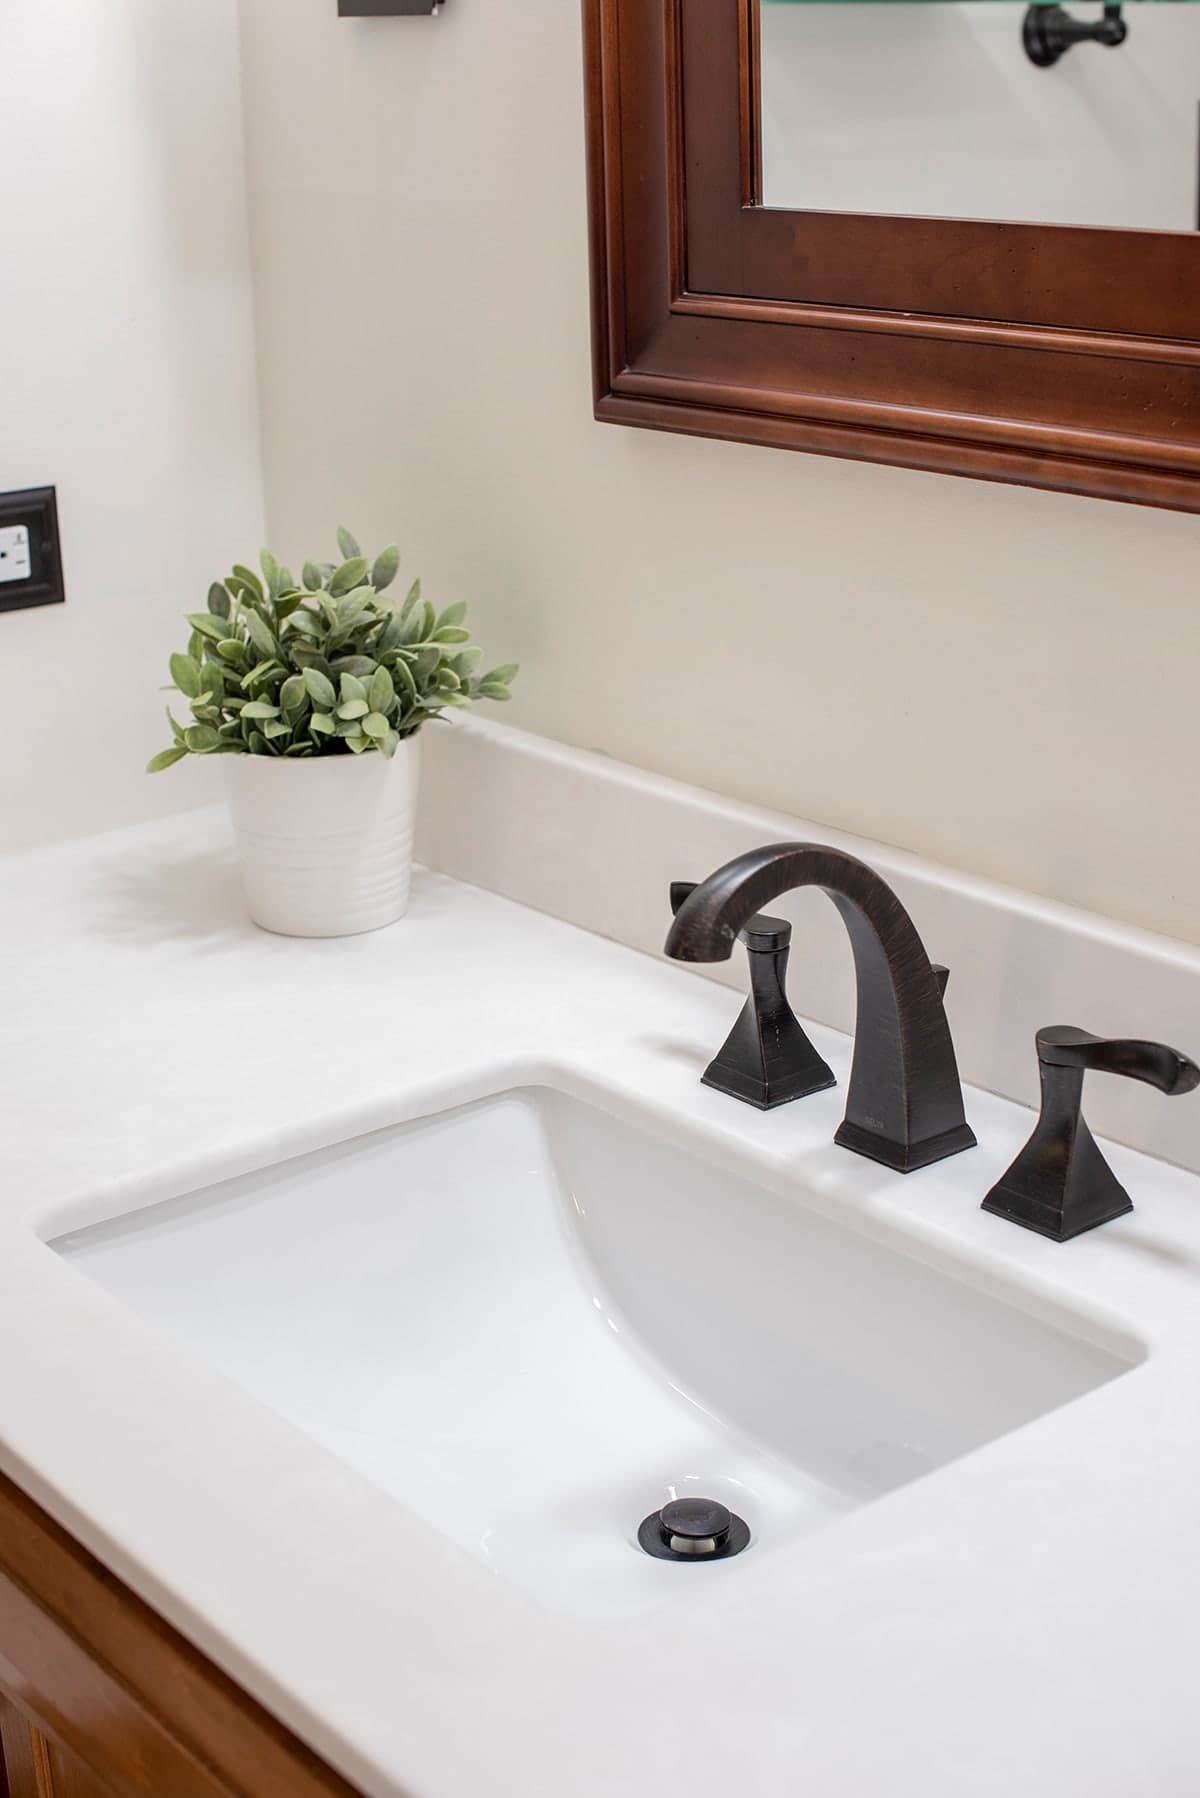
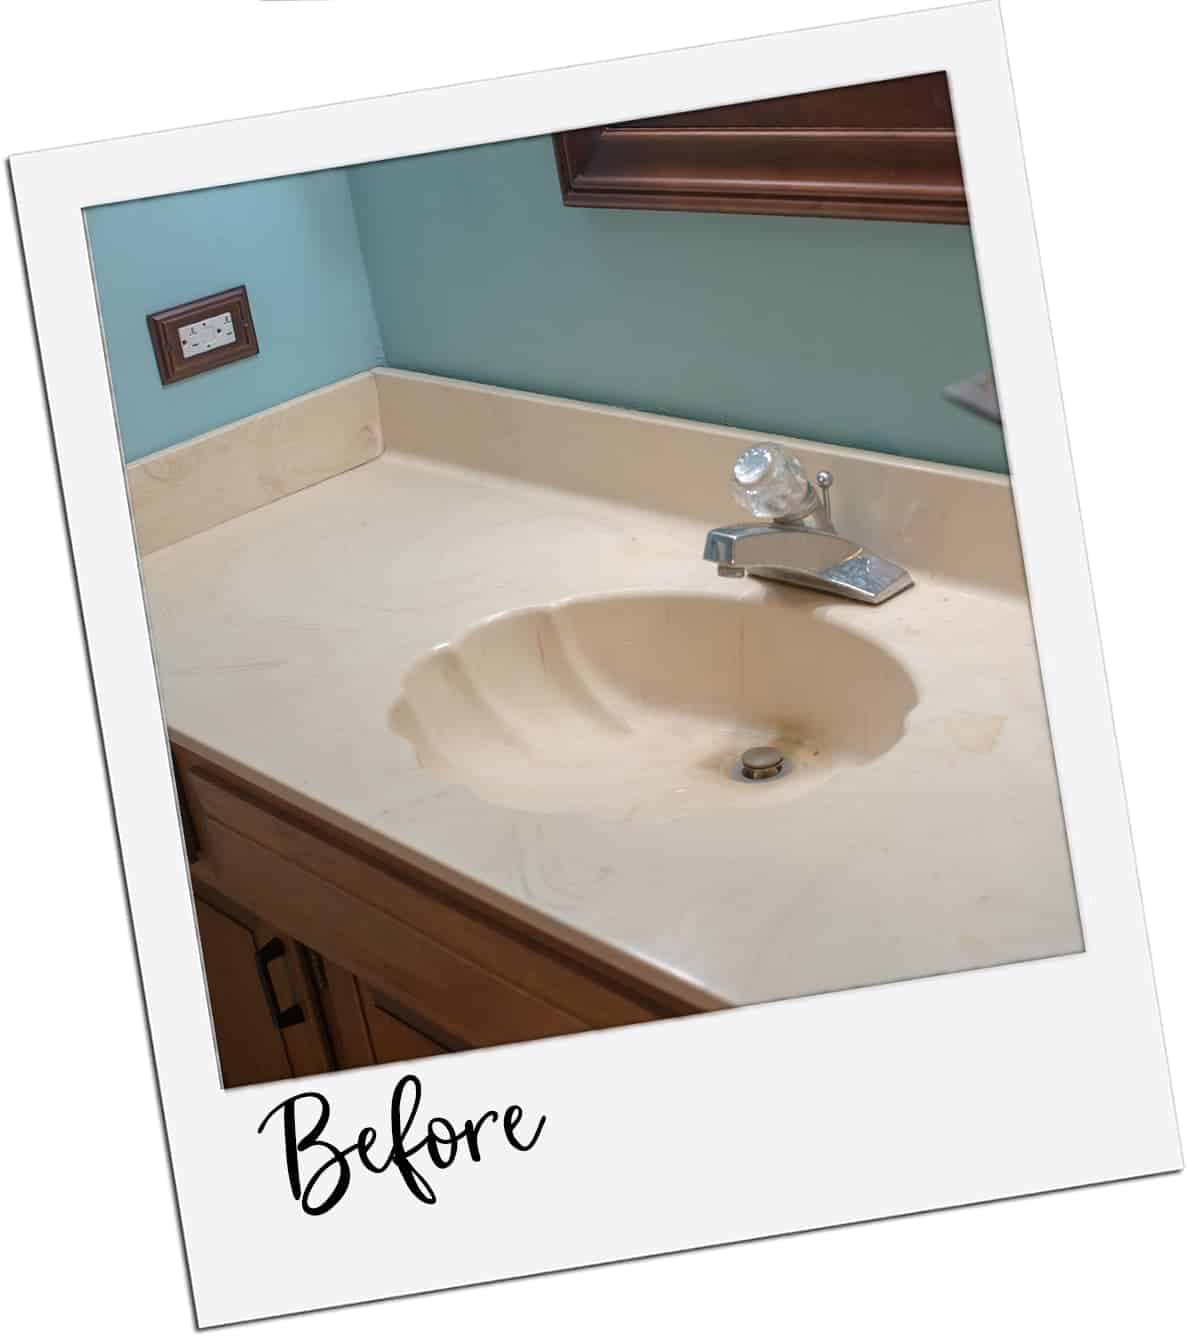
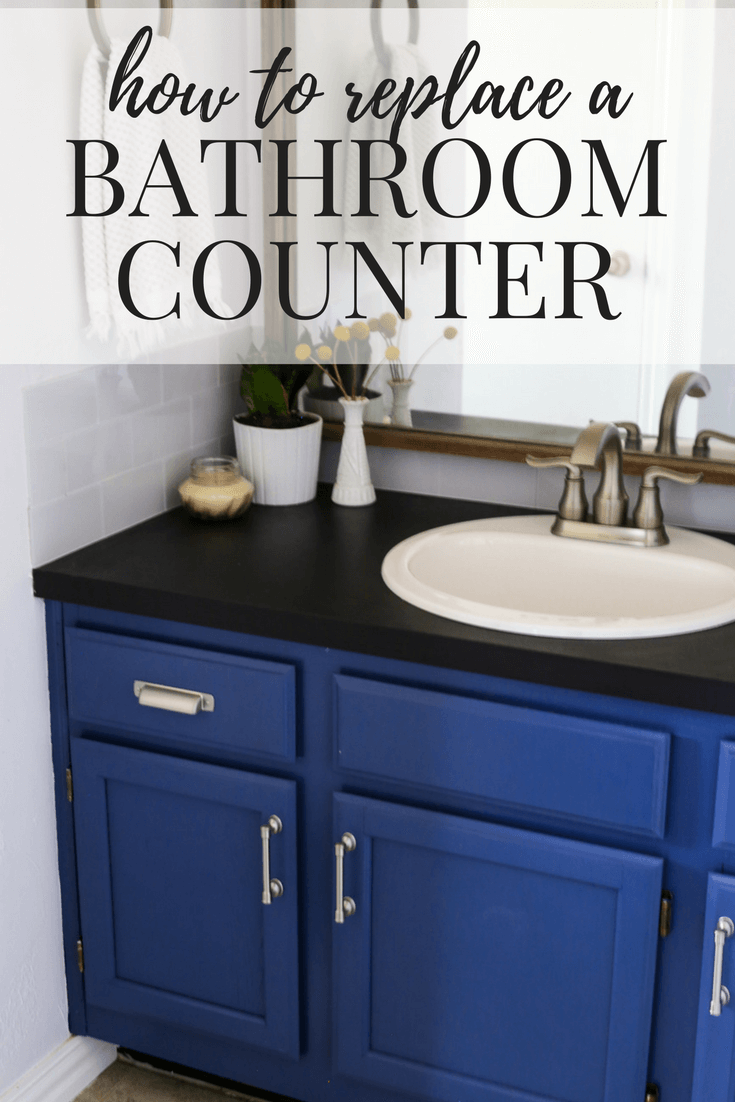
Recently, I tackled replacing the countertop on my bathroom vanity. It was a straightforward project that made a significant difference in the overall appearance of my bathroom. In this article, I want to share my experience and provide you with a no-fluff guide on how to replace a bathroom vanity countertop. Let’s get started!
Step 1: Measure and Plan
Before diving into the project, take accurate measurements of your existing countertop to ensure the new one will fit perfectly. Consider the dimensions, including length, width, and depth. Take note of any additional features, such as sink openings or faucet holes, to ensure compatibility with the new countertop.
Step 2: Gather Materials and Tools
Once you have the measurements, it’s time to gather the necessary materials and tools for the job. You will need a new countertop, a utility knife, a pry bar, a screwdriver, adhesive or caulk, a level, and a caulking gun. Make sure to choose a countertop material that suits your style and budget.

Step 3: Disconnect the Plumbing and Remove the Old Countertop
Before removing the old countertop, turn off the water supply and disconnect any plumbing connections. Use a screwdriver or wrench to disconnect the water lines and remove the sink. Next, carefully remove any screws or adhesives that attach the countertop to the vanity base. A pry bar can be useful for this step. Take your time to avoid damaging the surrounding walls or cabinets.
Step 4: Prepare the Vanity Base
Inspect the vanity base and ensure that it is in good condition. If any repairs or adjustments are needed, address them before installing the new countertop. Clean the surface to remove debris or adhesive residue from the old countertop.
Step 5: Install the New Countertop
Position the new countertop onto the vanity base, ensuring it aligns correctly with the plumbing fixtures and sink or faucet holes. Use a level to ensure it is perfectly even. Apply adhesive or caulk along the edges of the vanity base to secure the countertop in place. Gently press it down, ensuring a strong bond.
Step 6: Reconnect Plumbing and Finishing Touches
Follow the manufacturer’s instructions to reconnect the plumbing fixtures, including the sink and faucet. Double-check for any leaks and make adjustments if necessary. Once the plumbing is secure, apply a bead of caulk along the edges of the countertop to create a watertight seal. Smooth the caulk with a damp cloth or your finger for a neat finish.
Replacing a bathroom vanity countertop is a manageable project that can significantly impact the look and functionality of your bathroom. By measuring carefully, selecting the right materials, and following these steps, you can achieve a successful countertop replacement. Take your time, follow safety precautions, and enjoy the process of enhancing your bathroom’s aesthetics and functionality.

How to Replace a Vanity Top (and save $$$) Craving Some Creativity

How to Install a Vanity Top – Onyx Sink Top

How to Replace a Vanity Top (and save $$$) Craving Some Creativity

How to Remove a Countertop From a Vanity » Decor Adventures

How to Remove a Bathroom Vanity Cabinet
/7_remove-vanity-top-56a4a26d3df78cf772835b2d.jpg)
How to Replace A Bathroom Countertop u2013 Love u0026 Renovations

How to Refinish Bathroom Vanity Top with DIY Epoxy Resin – TheDIYPlan

Related articles:
- Concrete Bathroom Countertops DIY
- Onyx Bathroom Countertops
- Bathroom Countertop Remodel
- Inexpensive Bathroom Countertops
- Resin Bathroom Countertops
- Walnut Bathroom Countertop
- Green Granite Bathroom Countertops
- Cheap Bathroom Countertops
- Resurface Bathroom Countertops
- Ideas For Bathroom Countertops
